• How to use colour to develop your personal style
    Fashion,  Lifestyle

    How to develop your personal style through colour

    This is the first in a series of blogs about developing your personal style and in this blog we are going to be focusing on the importance of colour in developing your own personal style and having a wardrobe that you love.

    Wearing the right colour can have a dramatic effect on your mood and when you get it right you will be completely in tune with yourself, and this then has an impact on how others see and interact with you.

    Seasonal Colour Theory

    From the research that I have done most people use the seasonal colour theory in determining what colours suit them best.

    The theory initially looks at your undertone which is either warm or cool. If you have a warm undertone, you will be a Spring or Autumn and if you have a cool undertone, then you will fall into the Summer or Winter category.

    Once you have determined if you are warm or cool you look at the depth of colour that best suits you. If lighter colours suit you best, you will be a Spring or Summer and if deeper colour suit you best you will either be an Autumn of a Winter.

    The system was then further developed, and each season was sub-divided into 3 different types adding elements of light and softness which can further help an individual refine further the colours that will suit them best.

    Going this far will help a huge amount however with any system there are flaws to it. For example, what happens if you have neutral or olive undertones? Or if you are a red head going grey? 

    It was in my search for a better system that I came across the work done by David Zyla and his ‘Colour of Style’

    David’s Zyla’s ‘The Colour of Style’

    What I love about David Zyla’s approach is that it works on the premise that Mother Nature knows what is best of us and instead of starting with some seasons he looks to tailor your colour palette based on the colours we find within ourselves. So, his system is based on the colour of your eyes, hair, lips and skin and that way you can build a colour palette completely tailor made.

    David’s system looks to build a core set of colours that works for you (your true colours) that you can use to mix and match to create outfits for every occasion that you will face. He goes on to explain more about the psychology of colours and provides some guidance on when and how to use each of these colours.

    I’ve given a headline of each of these colours and shown how I have used them to build my own wardrobe to give you an example how you might go about trying this yourself.

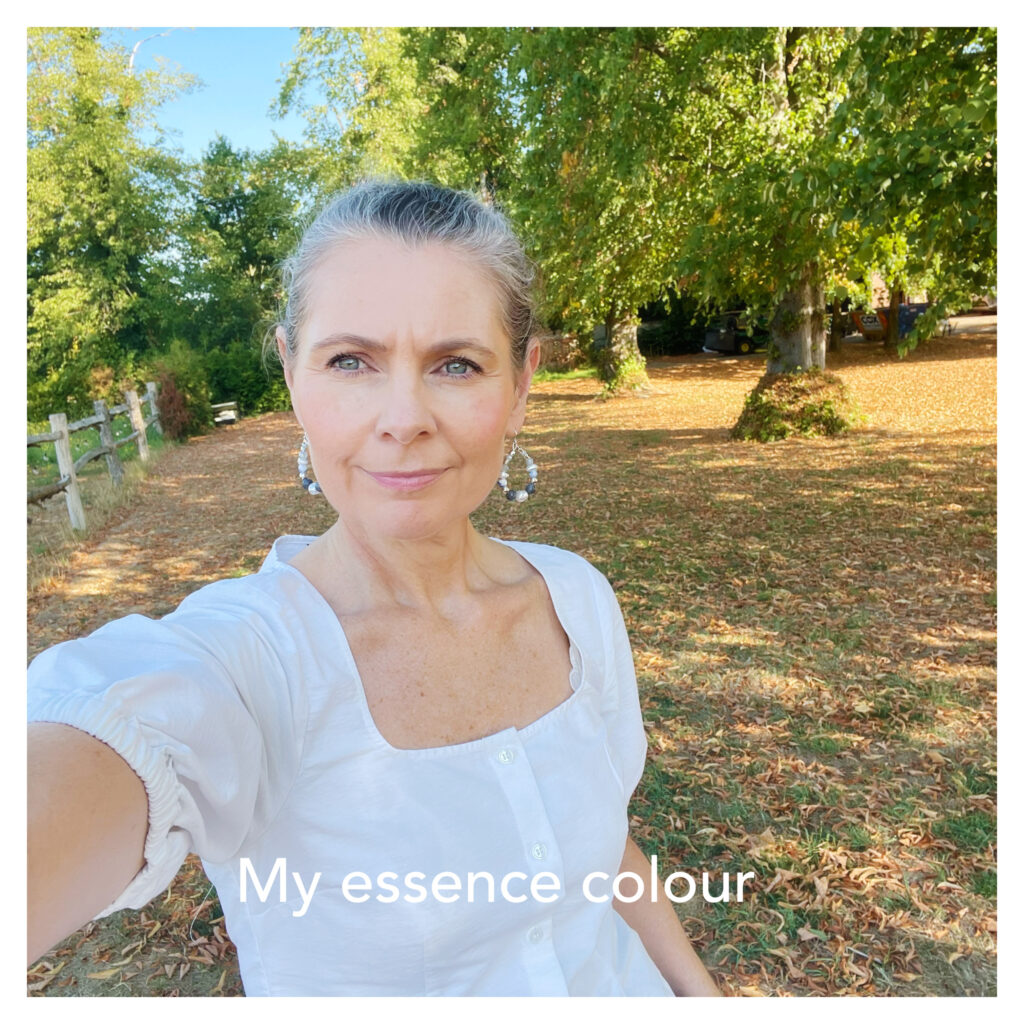
    Your Essence Colour

    This is your vulnerable colour and is your version of white. A white that harmonises with the colours in the palm of your hand.

    In my case this is a soft white rather than a really bright white but for you it could be a cream, a light pink or taupe etc.

    Essence colour
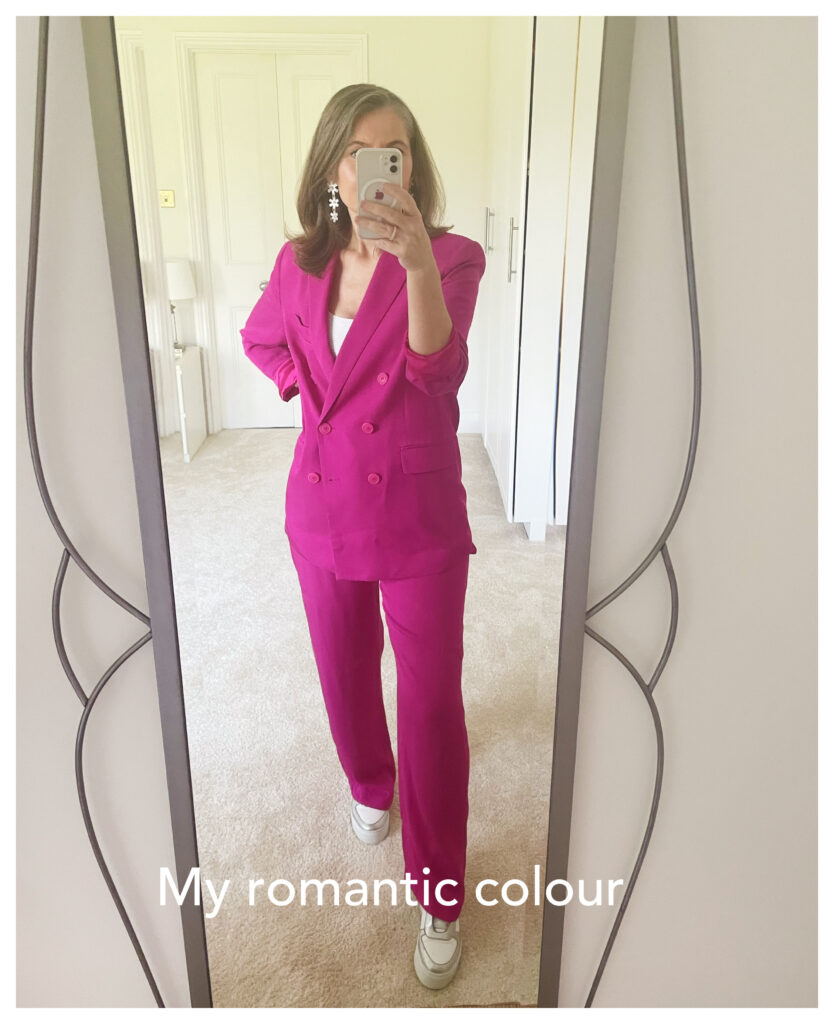
    Romantic Colour

    Your Romantic Colour

    This is your passionate colour and is your version of red and found by pinching a fingertip – or the colour you blush.

    It could be red but for me it’s pink but could be a coral or burgundy etc.

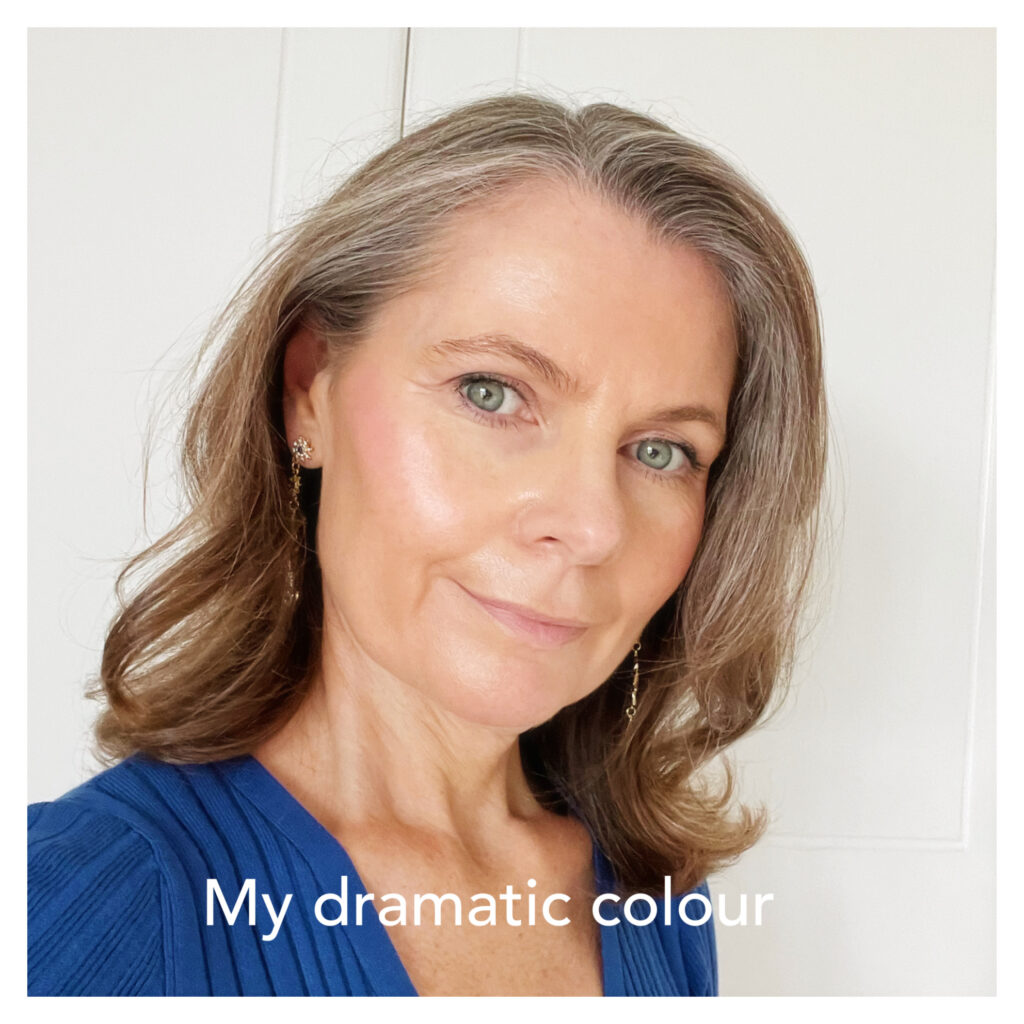
    Your Dramatic Colour

    This is your ‘look at me’ colour; your version of blue which is found my looking at the colour of your veins.

    For me this is a bright blue but could be green or even purple.


    Colour of Style Dramatic
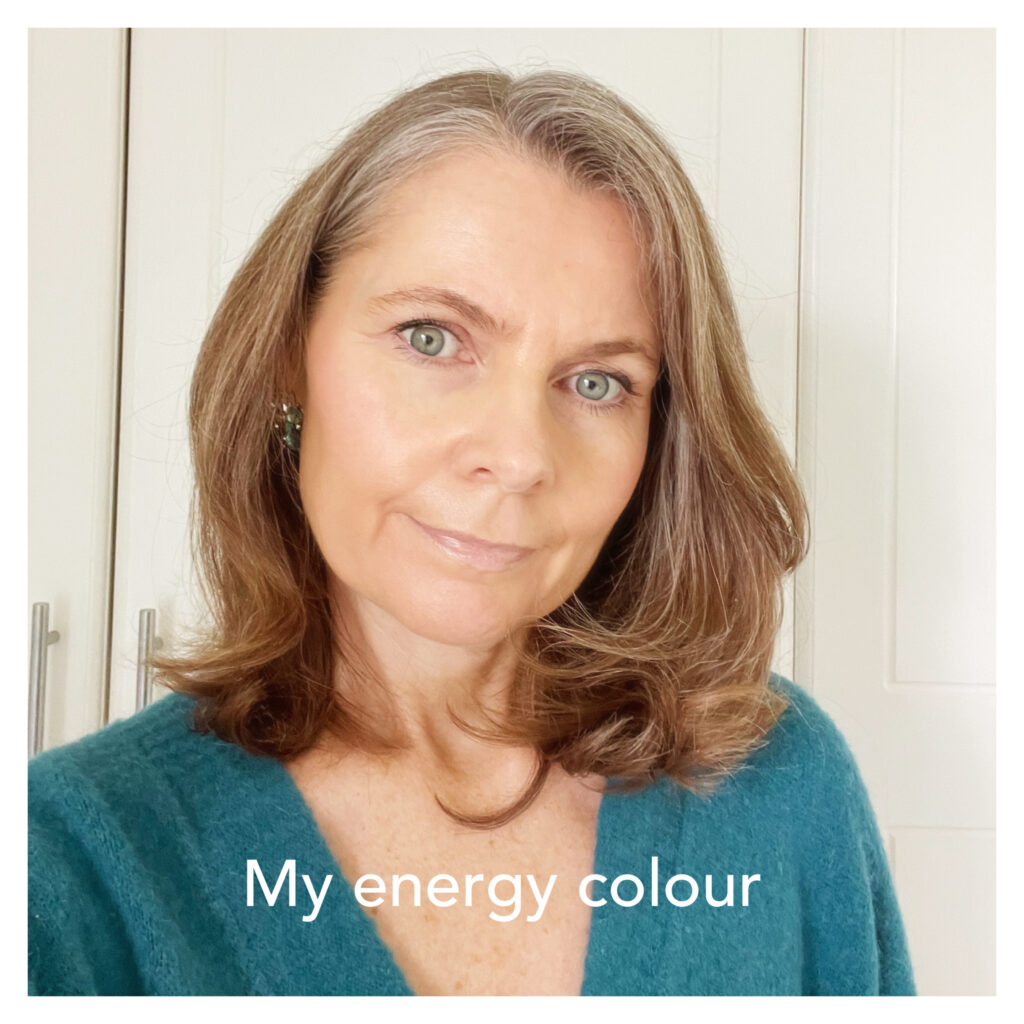
    Colour of Style Energy

    Your Energy Colour

    This is the colour that supports you when you need a pick me up, taken from the darkest part of your iris (but not the ring around your iris

    For me this is a petrol blue colour but will vary if you have brown or green eyes.

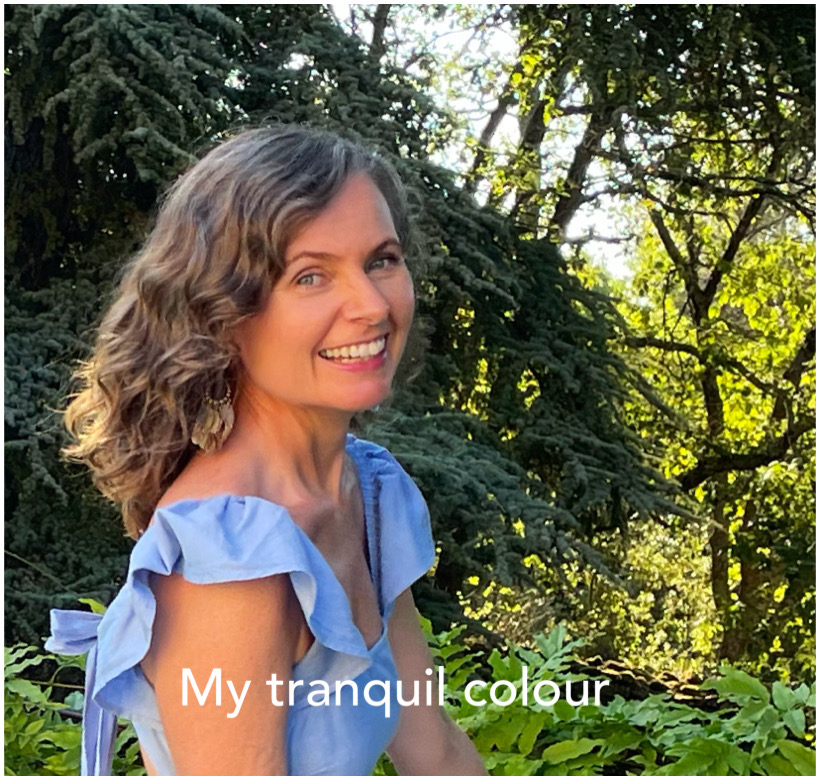
    Your Tranquil Colour

    This is your peaceful colour, taken from the lightest part of your iris.

    For me this is a light grey blue colour but again will vary depending on the colour of your eyes.

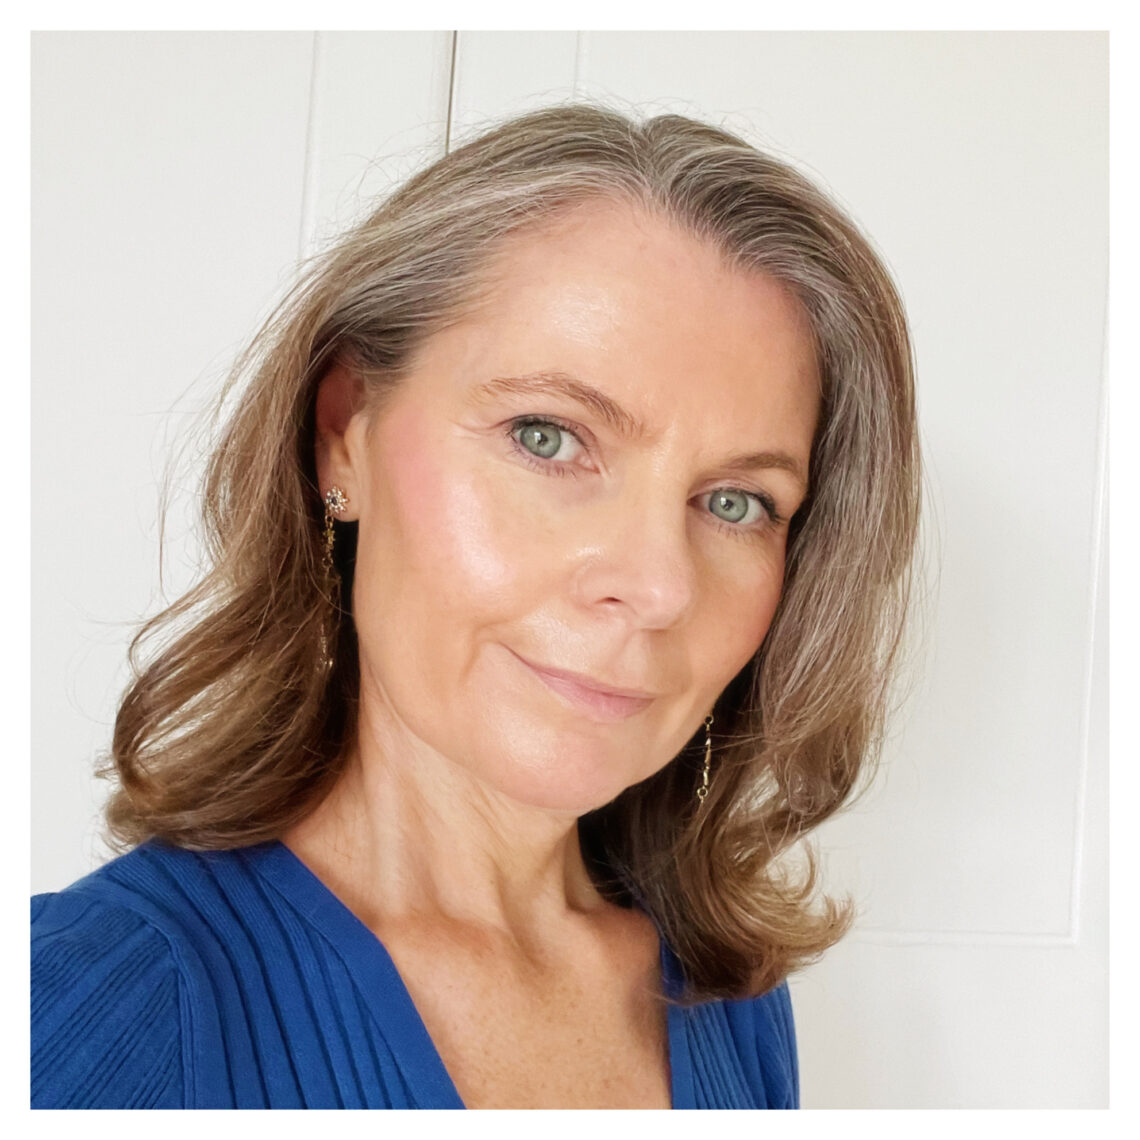
    Studying your eyes in detail may bring some surprises for you. Although my eyes are a blue grey colour, I have a yellow ring around my eyes, and this is a colour I could use in my wardrobe.

    Colour of Style Tranquil
    My version of black

    Your First Base

    David also includes 3 neutrals to complete your wardrobe;

    Your version of Black or your first base. This is the most flattering colour for you, taken from the ring around your iris.

    As you can see from the photo my version of black is in fact a light navy.

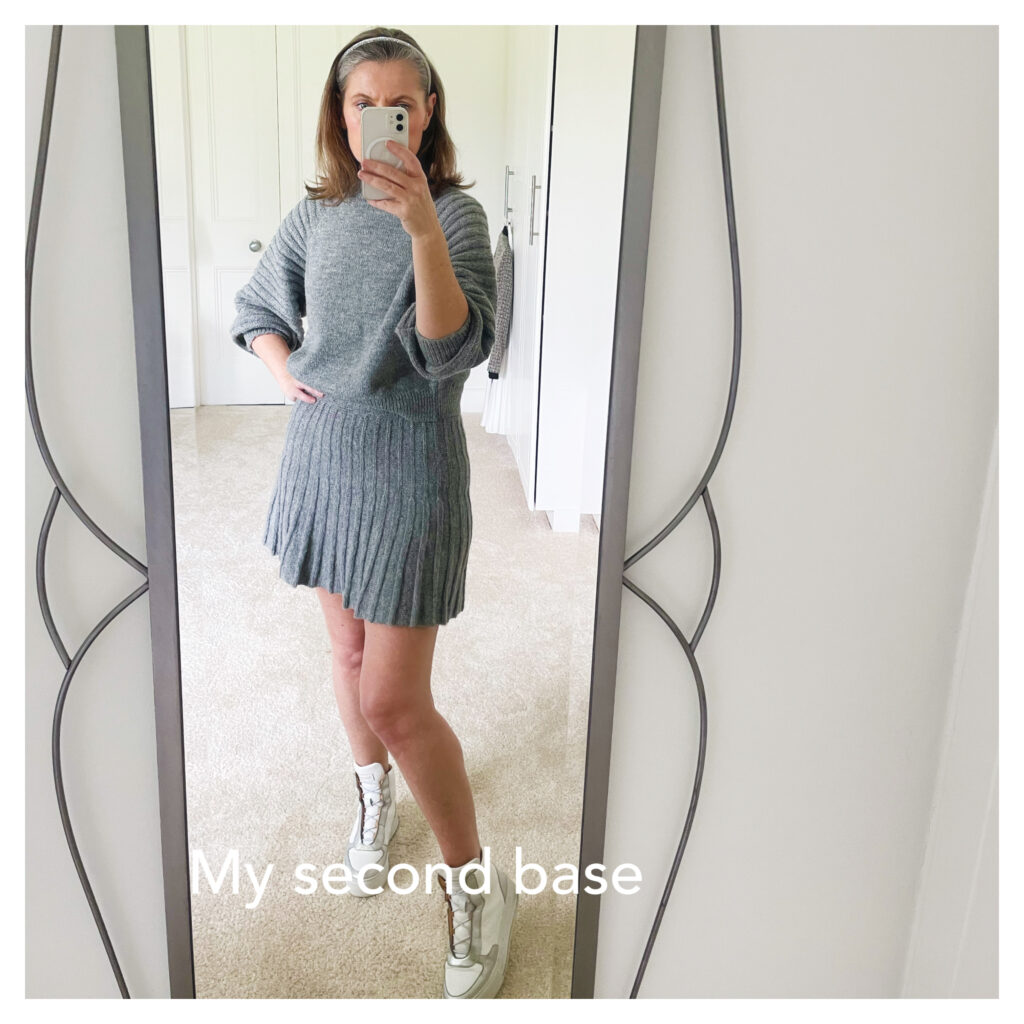
    Your Second Base

    The second neutral is your version of brown. This is a more casual medium dark shade which is taken from the darkest part of your hair.

    For me I have 2 options a dark taupe colour and a mid-grey as my hair is transitioning at the moment. but I could have also gone with a warmer photo to show you as well but this is to really show you that you could select a couple of colours within each category if that makes sense for you. 

    Colour of Style Second base
    Colour of Style Third Base

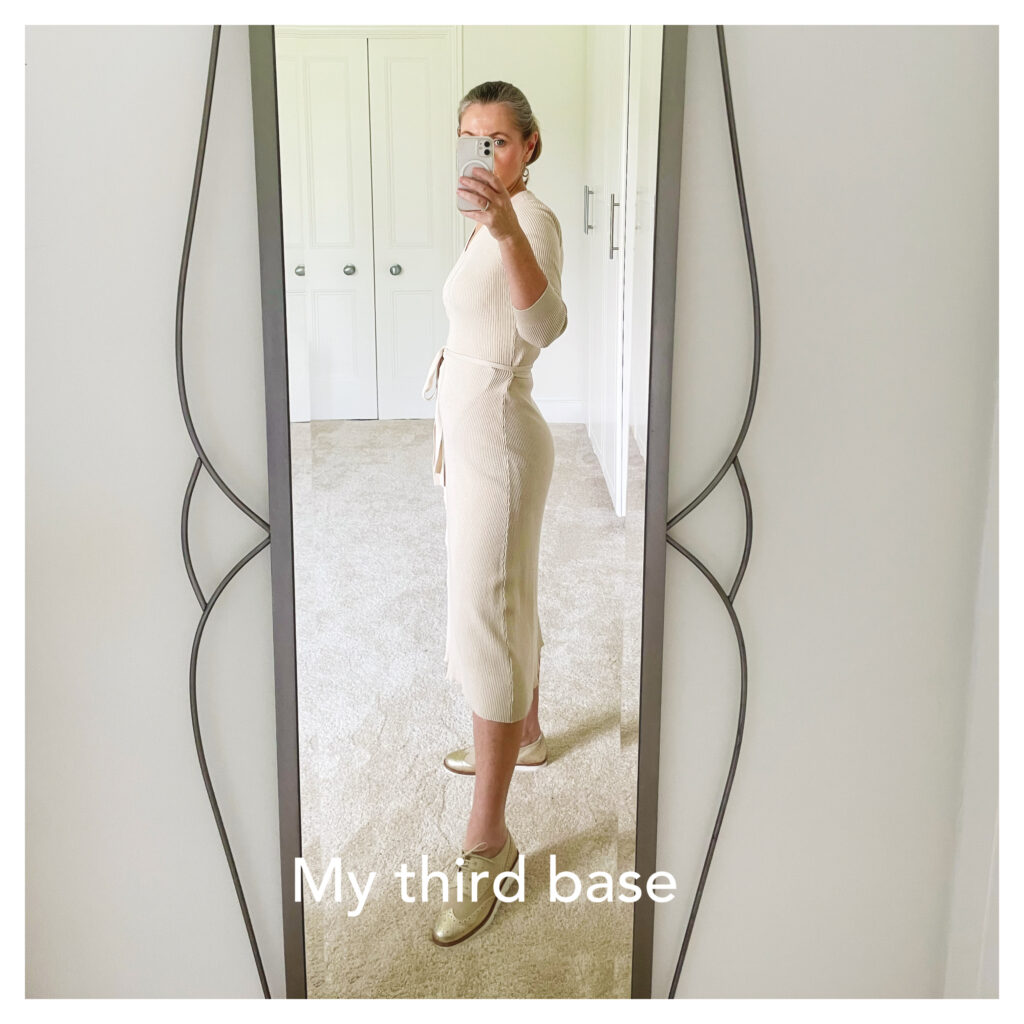
    Your Third Base

    The last neutral is your version of Khaki and is your best light colour, taken from the lightest part of your hair.

    For me I have 2 options to go down the taupe colour or go down the very light grey route again due to my hair going grey. Over time I expect my wardrobe will move to the greyer tones but for now I can enjoy both.

    As you can see from the photos above studying my own colours allows me to build a colour palette that works perfectly for me and I think this is the best thing about David’s approach.

    The next thing that David’s book goes onto explore is when you wear each of your true colours and I think this is another build which I really enjoyed exploring.

    Some days you can put something on from your wardrobe and it is one of your colours that suits you but somehow it doesn’t feel right. David really explains the psychology of colours and helps explain why this happens and then goes on to make recommendations about which colours you may want to use in different situations.

    Here are some of his thoughts below…

    Date night – Romantic or Energy colour

    Formal meeting – First base, Dramatic or Energy colour

    Relaxed meeting – Second or Third base with Energy or Tranquil colour

    Travelling – Energy or Tranquil colour

    Yoga / meditation – Essence or Tranquil colour

    Beach – Third base with any of your other colours

    Exercising – Energy or Dramatic colour

    Your birthday party – Dramatic colour

    Comforting a friend – Tranquil or Essence colour

    Embedding colours into your own Capsule Wardrobe & Personal Style

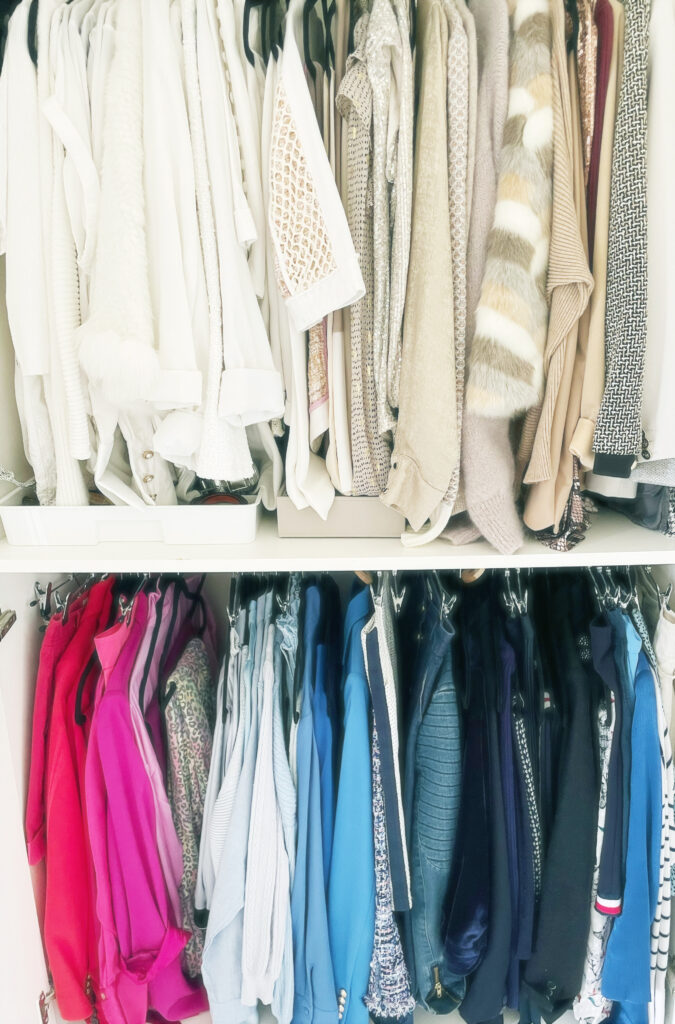
    Once you have done the analysis you can start to look at your own wardrobe and this helps you think about buying more purposely. I’d recommend taking a look at your wardrobe and thinking about if all the colours are really working for you and perhaps look to donate those that that don’t.  Once you have gone through your existing wardrobe you can see if you have staples in your true colours and over time can add as you need be.

    I started on my journey a few years ago. As you can see, I’ve really narrowed down the colour palette I have in my wardrobe, and the surprising thing I have found is that it’s easier to put outfits together now and feel that I have more choice than when I used to buy a much wider range of colours. I also think that I’m starting with colours that suit me best so it’s hard to select a colour that really looks awful on me and drains me of colour these days.

    I expect my wardrobe will continue to evolve. These days we are all working from home more and so I’ve noticed that I gravitate to my third base neutrals rather than my first base neutrals and so naturally buy lighter colours. I’ve also mentioned that I’m going grey and so I’ve added a few more grey colours to the mix which I’m also enjoying.

    There are also additional benefits as it gives you great guardrails when you are out at the shop. At the start I popped into my local DIY store and picked up paint cards of my true colours and had them to hand whenever I walked around a clothes store to help me make better choices, but things are more natural to me now. 

    I hope you enjoyed my article. I’d love to hear from you on how you are thinking about colour in your wardrobe and how it makes you feel.

    Capsule Wardrobe
    Comments Off on How to develop your personal style through colour
  • Hair 2 and half years in
    Hair & Beauty

    Grey hair transition – was it worth it?

    Two and a half years ago like many women I started on my grey hair transition. Today I thought I’d share about my reasons for starting my journey, what my strategy for transition was, what you can expect if you decide to embark on a similar journey and talk about if I think it was worth it.

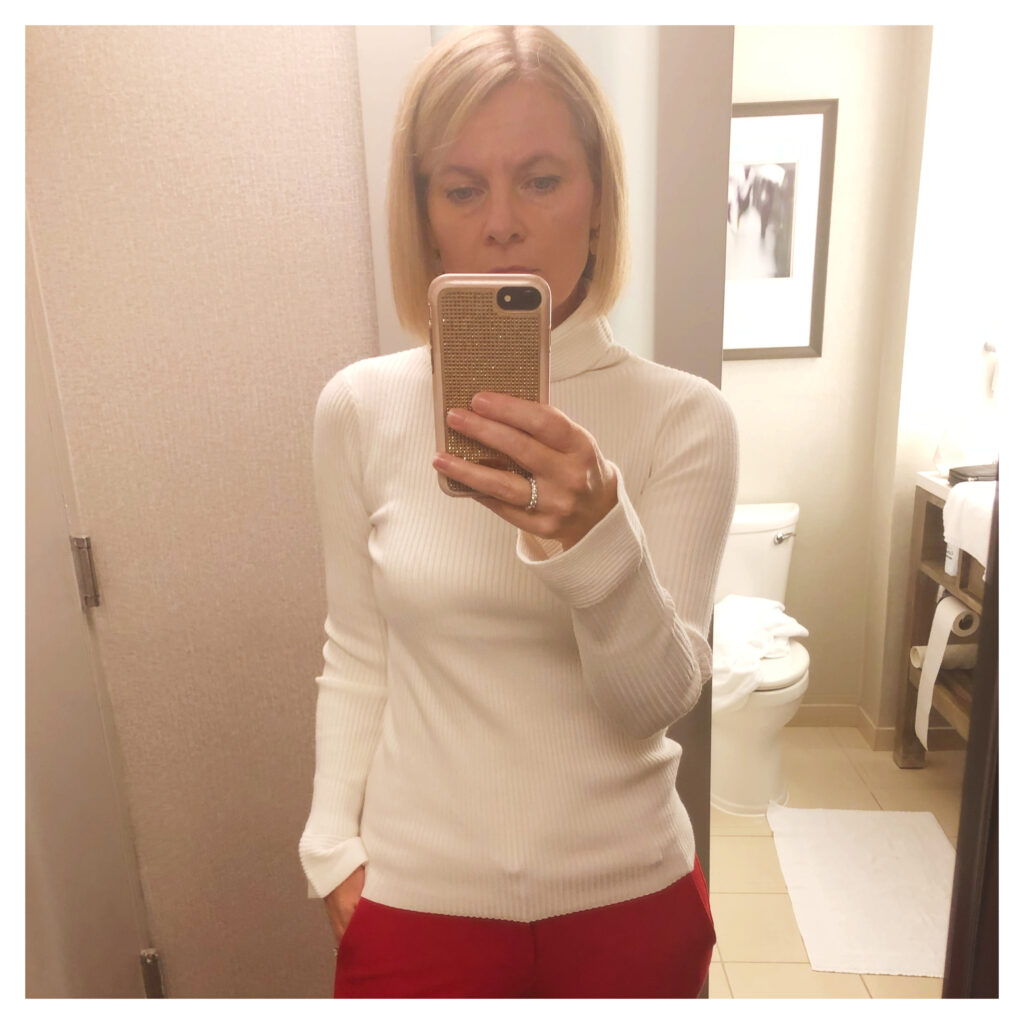
    Hair pre-transition

    This is a photo of me just before I started my journey. 

    At the time I didn’t think about my hair too much of the time. Over the years I’d learn to work with it as best I could. 

    For me that meant getting a cut and colour every 8 weeks and washing and drying it every day. In terms of styling, I would do a quick blast with the hair drier and then use my trusty straighteners to try to control the frizz.

     My hair is naturally curly so very occasionally I would let it dry naturally but I got very mixed results so that was mostly left to holidays.

    So why did I start my journey in the first place?

    For me I think things kind of crept up on me, so it wasn’t quite as deliberate as perhaps others that have gone before me but this how things unfolded for me.

    1) I had started to notice the silver sister’s revolution online and like what these women were doing. However, a lot of them initially had quite dark hair and were very grey so their transition made clear sense to me.  When I looked online, I didn’t see that many blondes going grey or sharing their journey, so I wasn’t sure if this was something that I was really thinking about doing.

    2) Covid hit the UK in March 2020 just a day before I was supposed to go in for my next cut and colour. I’ve always highlighted my hair so I didn’t think I had the skill to attempt this at home so I was stuck for a couple of months before I could visit the hairdresser

    3) I was going through a period of change in my life, and I was looking at myself and was feeling that my bob was feeling less like me. It was feeling a bit too rigid and structured, and I was feeling my hair wasn’t really keeping up with how I wanted to show up on the outside. I was coming up to my fiftieth and I wanted to show up a bit softer and feeling more carefree. 

    The Journey starts…

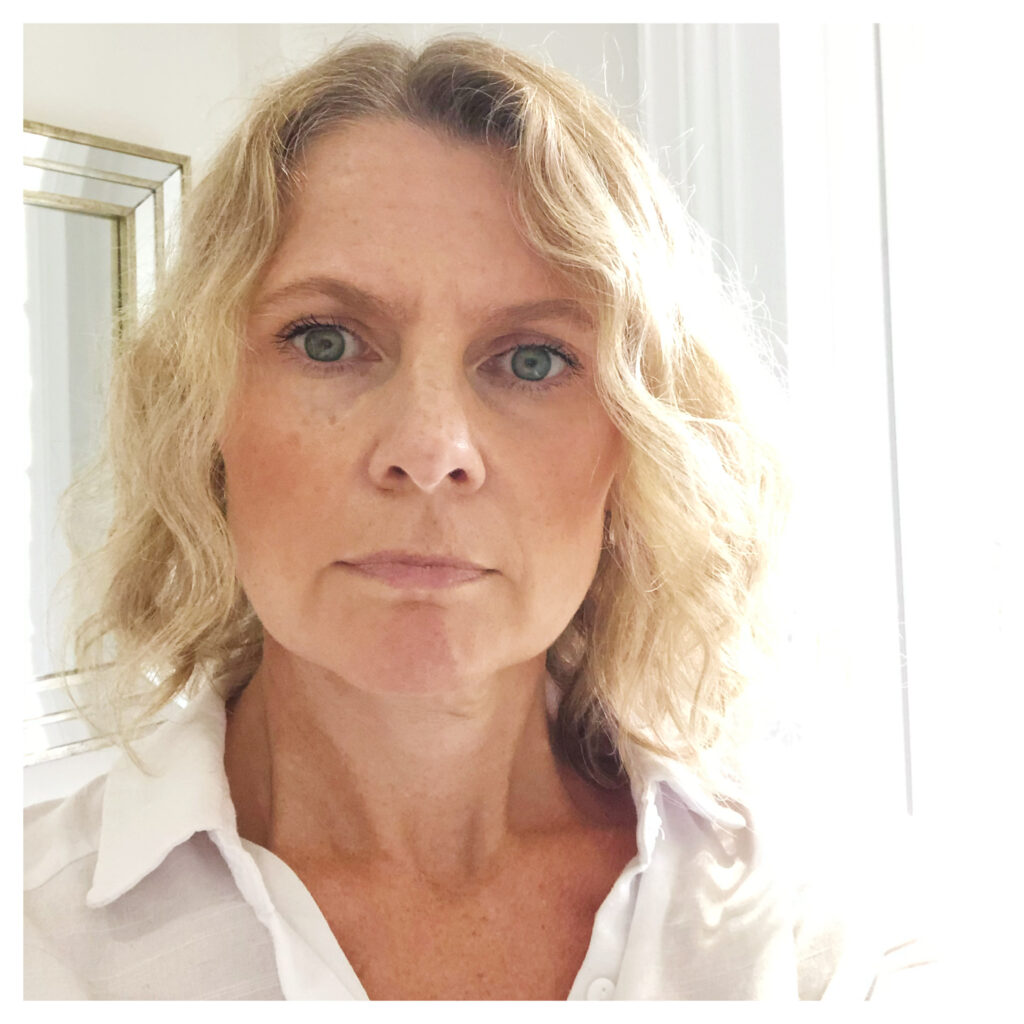
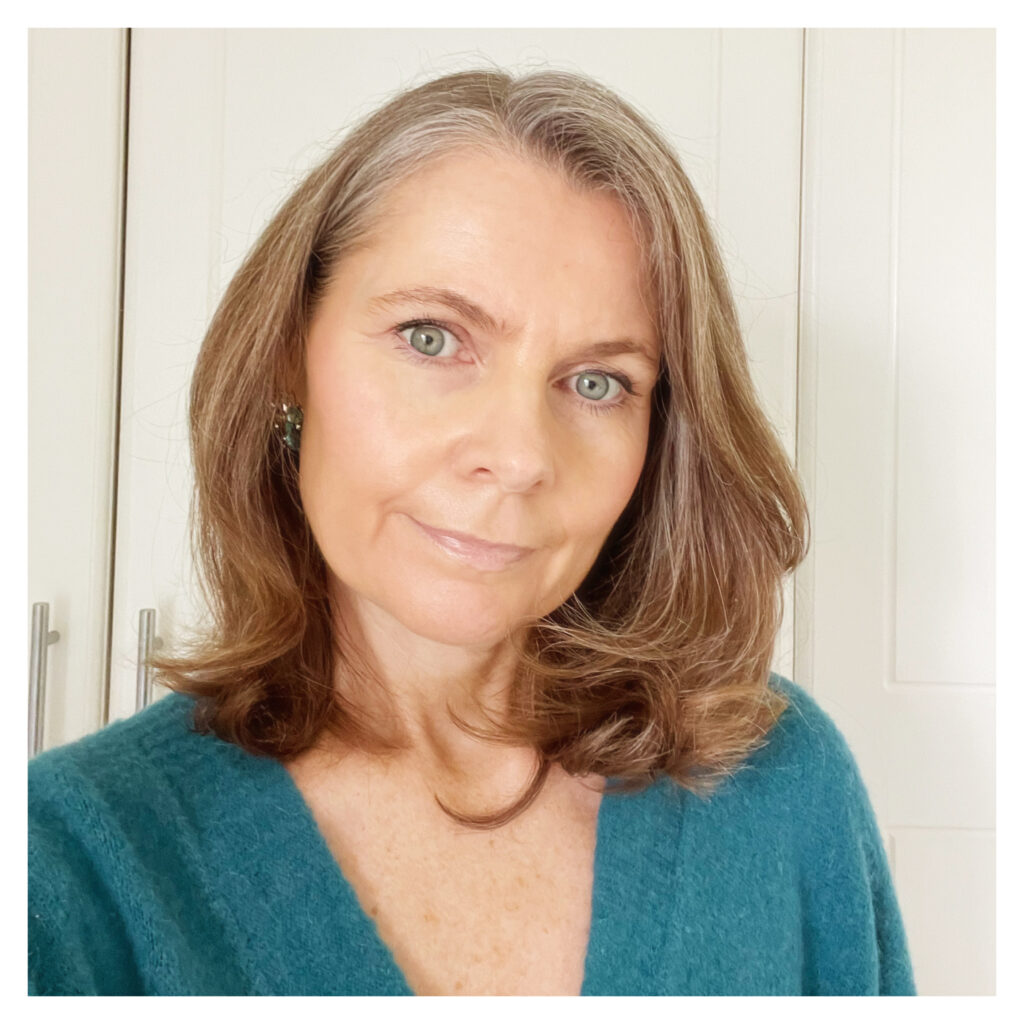
    This is me about 6 months in. We were still in lockdown and although not a great photo I wasn’t hating my hair at this point and so I was starting to think if this might be a good time as ever to make the change. 

    In the photo I’ve let my hair dry naturally and you can see that it looks really dry. I wondered if transitioning might improve the quality of my hair as it had for many of those silver sisters.

    So, lockdown initiated my journey and after having got a few months under the belt and being ready for a change I just didn’t go back to my hairdresser when things opened up.

    Hair 6 months in

    My transition strategy…

    When I had finally decided that this was the time for me to make the change, I looked into many of the options on how best to make the change. I had really short hair for a short period of time in my twenties and absolutely hated my hair at that time so whilst many women decide to go down that route, I didn’t feel it was the right one for me.

    Instead, I opted to let my hair grow out as much as I could and then to cut it as short as I felt comfortable with. 

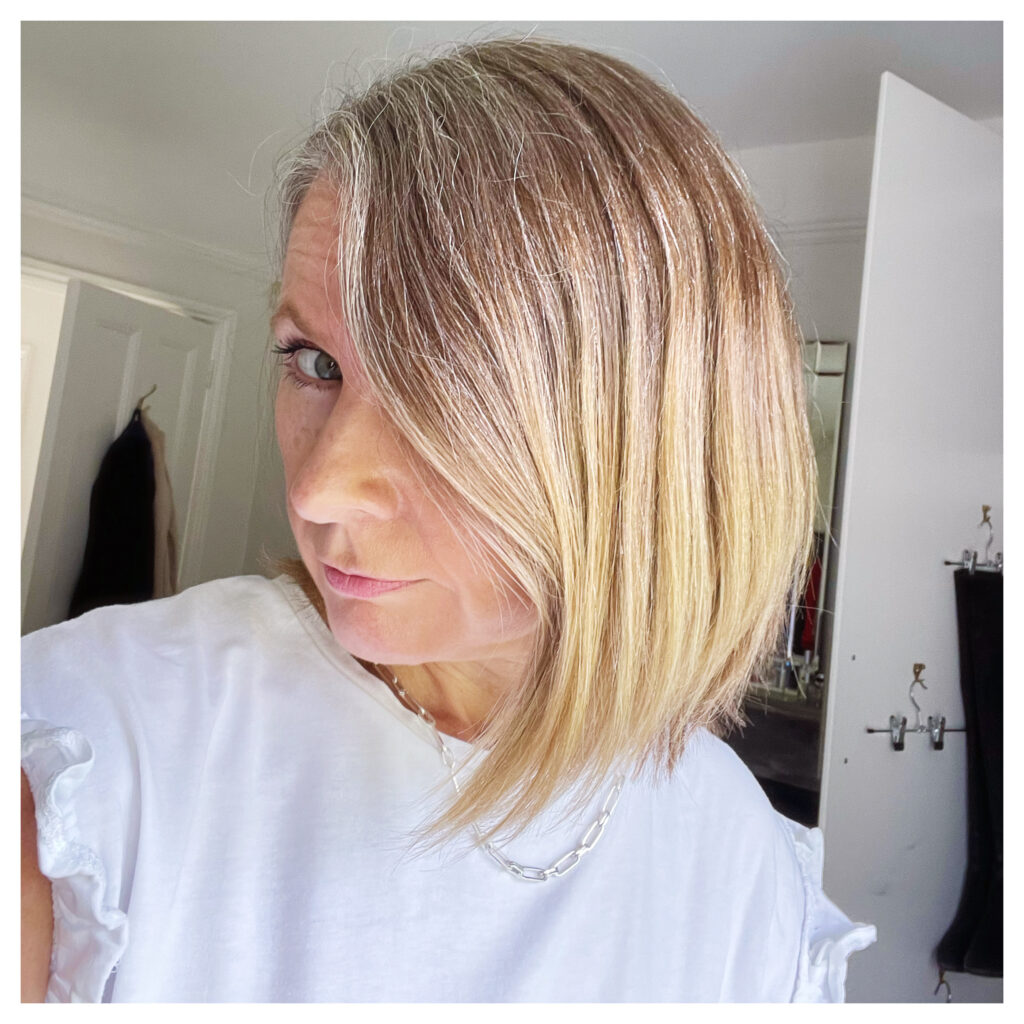
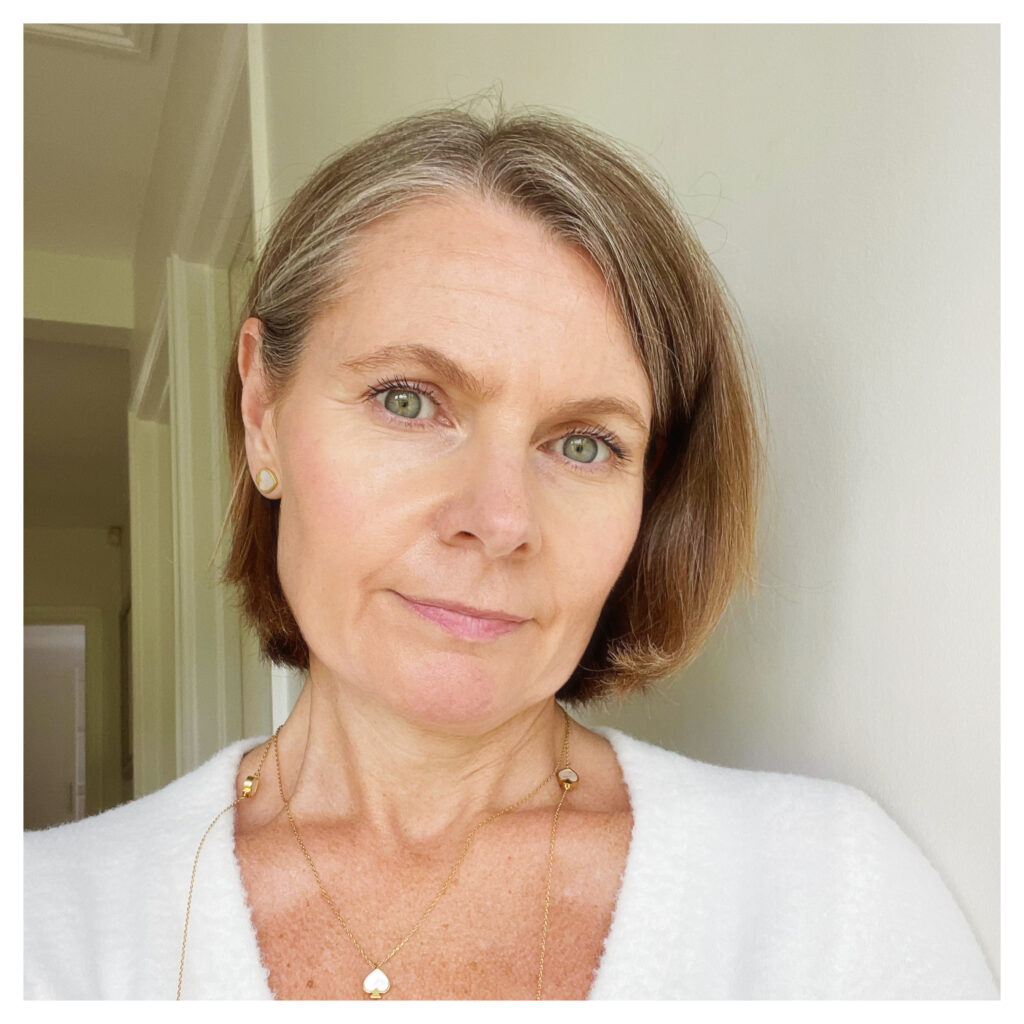
    For me this was a really short, choppy bob. The picture below on the right-hand side shows me about 18 months into my journey and from this point things got easier. The picture on the left is about 12 months into my journey and you can see a line where my new growth is coming in.

    The long-term plan is to grow the hair out and three years in I have about another year to reach my goal!

    Grey hair transition
    Hair choppy bob

    What to expect if you decide to make the transition?

    1) It’s going to be long and hard and you are not going to like your hair much during the process. The photo on the left above shows my hair about a year in and there isn’t much you can do to cover up that line. I can tell you I nearly booked in a million times to the hairdresser but somehow I just kept on with the programme. I think watching other women go through the process certainly gave me hope that i’d make it through.

    2) You may not be as grey as you think! This was certainly the case for me. In fact, I was really surprised to see that for now I’m really only grey at the front. These days when I wear my hair down my hair looks more ash brown / blonde with a few greys. It’s really only when I wear my hair up or push it off my face, that you can see more grey.

    3) You should expect a lot of comments from friends and family and many of these were not always helpful. However, my close family supported me, and my husband never said a bad word which I really appreciated.  You will be pleased to hear that I do get nice comments again and this is always nice to hear but you need to really know that you are doing this for yourself and so I just kept explaining my reasons for making the transition and asked people for their support. Afterall, it’s only hair and you can always change your mind later on if you want.

    4) I was a summer not a spring! I know some women start dyeing their hair as they are going grey and therefore select a colour similar to their own hair, but I started dying my hair from a really young age. As a baby I was really fair and growing up heard a lot of messages that being blonde was beautiful so as my hair turned a mousey brown in my teens the peroxide came out. So, when I actually started to see what colour my hair was I found it was easier to see what colours actually suited my complexion and i’ve made better decisions buying clothes.

    So, was it all worth it?

    Absolutely yes!

    I still have another year to go to grow my hair to length I want but there were so many positives that I didn’t think about before my journey

    I’m no longer a colour junkie waiting for my next hit and haven’t thought about roots for well over a year. 

    The quality of my hair is so much better. I don’t need to wash it every day anymore and I’ve banished my straighteners.

    I’ve saved myself around £800 a year at the hairdresser which although wasn’t a main goal it’s always nice to have. And, I actually have my own highlights. They are grey rather than blonde but are much softer on my skin and suit me much better.

    I can’t say you will never have a bad hair day, but I certainly have less of them and I’m happy to let my hair dry naturally as the quality is so much better these days.

    I know i’m going to get greyer over time and I don’t need to worry about the transition later on as I have finally done it.

    The best thing is that I feel much more like the person I am today, and my outer and inner self feel in harmony.

    Grey hair transition
    Hair after curly
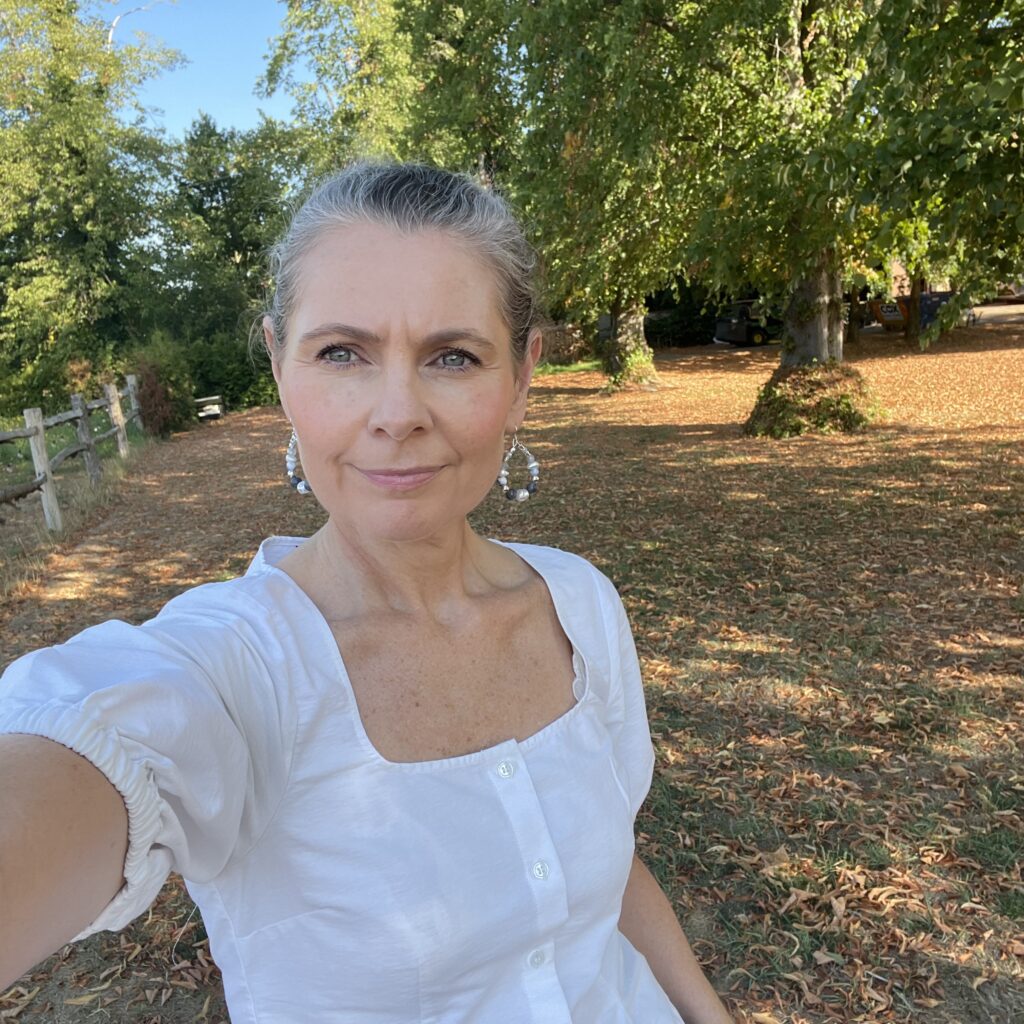
    Hair updo

    I hope you enjoyed my post and hearing about my journey. Do let me know if you have also taken the plunge or are thinking about it and share your stories with me. 

    Comments Off on Grey hair transition – was it worth it?
  • packing, travelling
    Fashion,  Lifestyle,  Travel

    How to pack like a pro

    Having always travelled for my jobs I think I would win a gold olympic medal for packing (if there was one). 

    So, if you want to learn how to pack the minimum amount of stuff you need, look effortless at the airport and look great when you get to your destination read on…

    1) Check the weather at your destination and get clear about the purpose of your trip

    For the purpose of today let’s cover 2 examples:  a work trip to a long-haul destination e.g., NY and a summer vacation. Although we are going to cover the same process both have a few differences that we will need to cover.


    2) First decide on your colour palette and keep to no more than 3 colours that all work together easily

    For my work trip i’m going to choose white, taupe and navy

    For my summer holiday i’ve chosen blue, white and pink


    3) Select your shoes

    Shoes are bulky and therefore you want to really minimise the number you have to pack. If you really want to minimise your selection i’d recommend a neutral colour for these. The other advantage in looking at shoes first is that it will limit your outfit selection later on which is what you want

    For my work trip i’m going to select 2 pairs. The first is a nude stiletto (or pump for you Americans!) and my second is a smart trainer. Both options can be dressed up or down depending on the outfit.

    For my summer holiday i’m going to select 3 pairs. A pair of silver wedges for evening, a pair of silver sliders for day, and a pair of white sliders for the beach.


    4) Select a comfortable travelling outfit(s)

    I’d recommend trousers for travelling and your best option is upmarket loungewear. When you are thinking of your outfit you need to look for comfortable fabric that doesn’t restrict the waist, doesn’t crease easily as you may need to sleep in it and if possible is breathable so there will be no nasty smells if you are going somewhere hot and will be wearing the outfit for a long journey.

    The added advantage of wearing loungewear is that this can also double up as a snuggly outfit if you have an evening watching telly in the hotel or if you need to run down to get a casual breakfast and want to throw something on. 

    For my work trip I’ve chosen a comfy wide leg knitted trouser in taupe, white t shirt and taupe cardigan matched with my trainers. I’m also going to wear an off-white trench coat over the top.

    For my summer trip i’ve chosen a light blue linen mix trouser and white t shirt with my silver sliders. As i’m going somewhere hot i’m not bringing a coat of jacket but i’ll bring a lightweight cardigan just in case.

    In addition to your travelling outfit, I always bring a pashmina with me as I often get cold travelling, but they also make great pillows or blankets if needed.


    5) Next you are going to select your outfits

    For this bit i’d recommend you get a paper and pen so that you can actually select what you will wear for each day. The idea is to have a bit of choice but to really limit things as much as you can so pick things that mix and match as much as possible. Generally, I find that you will need more tops than bottoms and tops need to be changed more often.

    For my work trip i’m going to select 2 bottoms and 4 tops: 2 pairs of ecru trousers 1 wide leg, the other tapered, 1 off white blouse, 1 taupe blouse, 1 champagne coloured sequined t shirt and 1 ecru knitted vest top. I’m also going to bring a chequered blazer (in blue and ecru).  All of these things mix and match easily and I know that if I do end up going out it is normally straight from work, so i’m not planning to go back to the hotel and change. I’ll wear the trainers with the wide leg trousers and the stilettos with the cigarette trousers.

    The summer holiday needs 3 different sets of outfits; Outfits for the evening when i’m going to nice restaurant, outfits for the day when I visit a market or go sightseeing and finally beach / pool wear. Overtime i’ve realised that for summer holidays you only wear each outfits for a really short time each day so i’ll often wear an outfit twice or even 3 times. So this time i’ll bring…

    Evening: 3 dresses (1 pink, 1 white, 1 blue all linen) all style well with the silver wedges

    Day: 1 maxi skirt (white, blue and pink), 2 shorts (1 blue, 1 white) 2 linen shirts (1 chambrey, 1 white) and 2 white t shirts. All work well with the silver sliders

    Beach: 2 short coveralls and a selection of bikinis. Both work with the white sliders


    6) Don’t forget your pjs

    I’ve added some nice cotton pjs to my list of essentials as firstly they make great lounge wear for chilling, but they are great at keeping you warm / cool if the hotel is too cold / hot at night.


    7) Next, it’s time to accessorise

    As you can probably see i’m all about packing as little as possible so when selecting my colour choice I also choose if i’m planning to bring silver or gold jewellery. For both of my trips i’ll take siliver this time with a selection of pieces for day and evening. All the items need to fit in a small travel jewellery case. 

    I also normally bring a hat with me. For a summer trip i’ll bring a straw hat and for a wintery trip i’ll bring a beret or smart beanie type of hat. I’ve found these are much easier to pack than an umbrella and also more useful as they have an advantage of keeping your hair less frizzy.

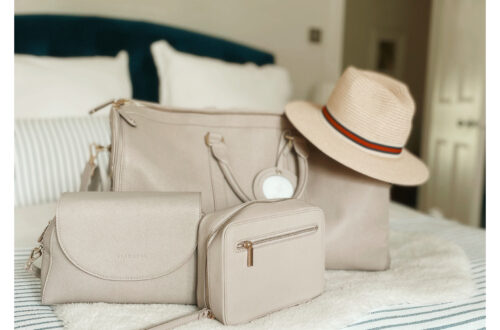
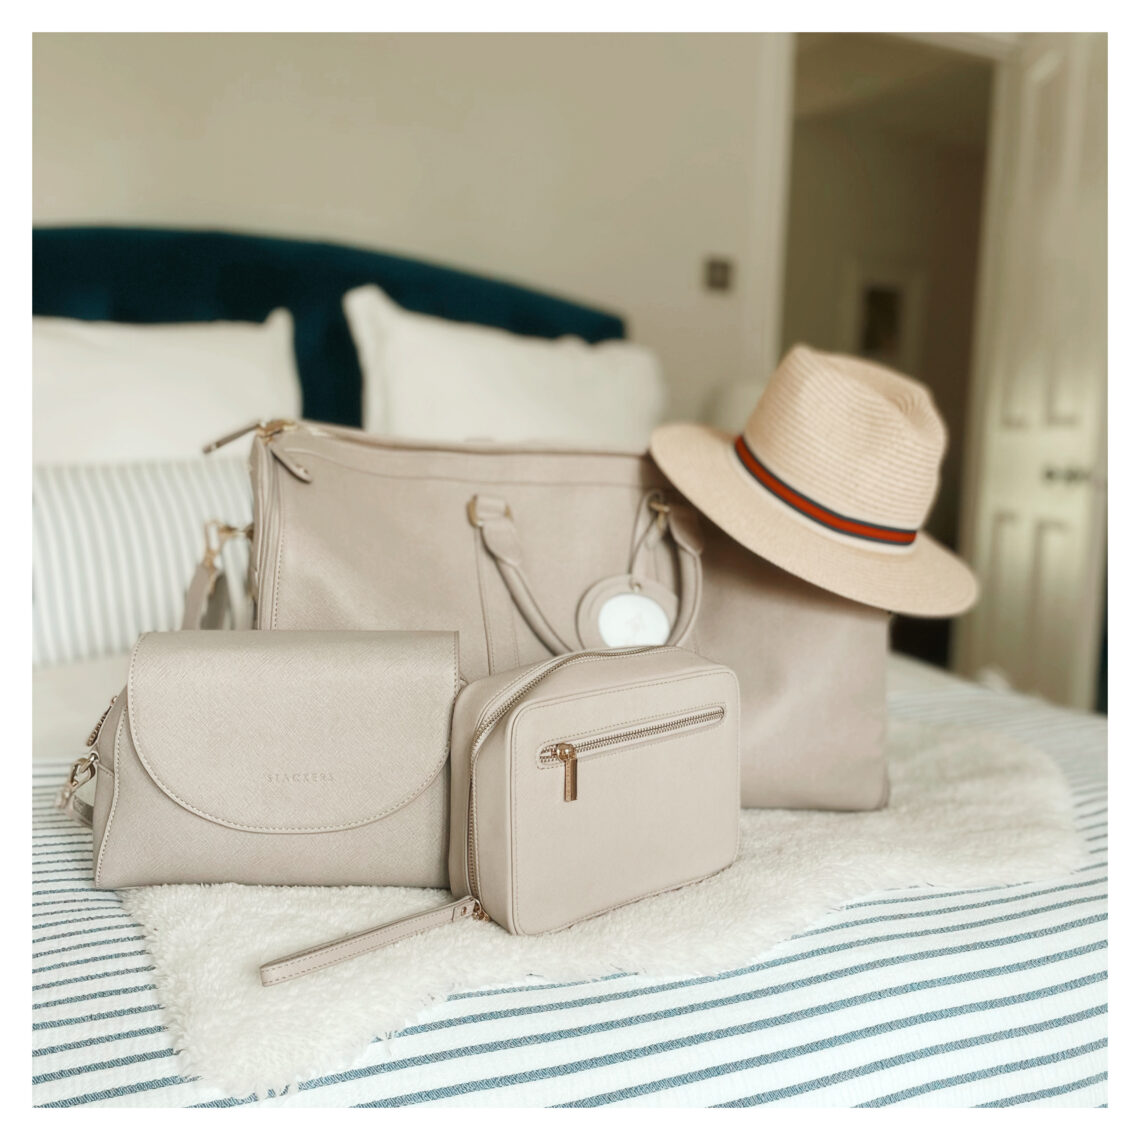
    Finally for bags I will look at bringing 2 bags; a lager bag to use as hand luggage / beach bag and a cross body bag with removeable straps so that you can use it as a cross body during the day and a clutch in the evening.


    8) Underwear

    My advice would be to pack all nude underwear as it is going to go with everything, and comfort is always my top priority.


    9) Hair, skin and make up

    For hair remember that the majority of hotels supply shampoo, shower gel and body cream so if you can manage for a day or two without your favourite brand then you could use those. If not, then i’d recommend buying some travel sizes or decant your products and remember that when you pack put your liquids into a plastic bag and pop them somewhere accessible if you are only planning to bring hand luggage. Most hotels also are stocked with hairdryers so only bring any appliances you need. 

    For makeup I try to keep things neutral. Other tips I have is to remember that lipstick can double up as blusher, use a bb cream instead of bringing a moisturiser and foundation and dyeing your eyebrows and eye lashes are good options for that summer holiday as I am yet to find a waterproof mascara that works. Use those perfume testers instead of bringing a glass bottle in your luggage. 

    As I travel so much, I have a fully stocked toiletries and makeup bag with just what I need so i don’t have to sift through all my products every time I pack.

    10) Finally, don’t forget to include all the electrical items  / adapters you need. 

    As with my makeup I have a fully stocked bag that is always ready to go that just gets added to my luggage


    Packaging tips

    When it comes to packing my advice would be to put your shoes and accessories at the bottom of your bag and then lay your clothes on top. More recently I’ve started packing my velvet hangers as I can simply lift outfits right out of my luggage and normal hangers are much more useful than the weird hangers that they have in hotels. I actually haven’t ever used packaging cubes but do hear good things about them so I may invest in them at some time.


    I hope you like the tips that i’ve provided here. Do let me know in the comments if you agree with these tips or if you have additional ones that you like to use.


    xx


  • Garage Organisation
    Decluttering & Organisation,  Home

    How to organise your garage

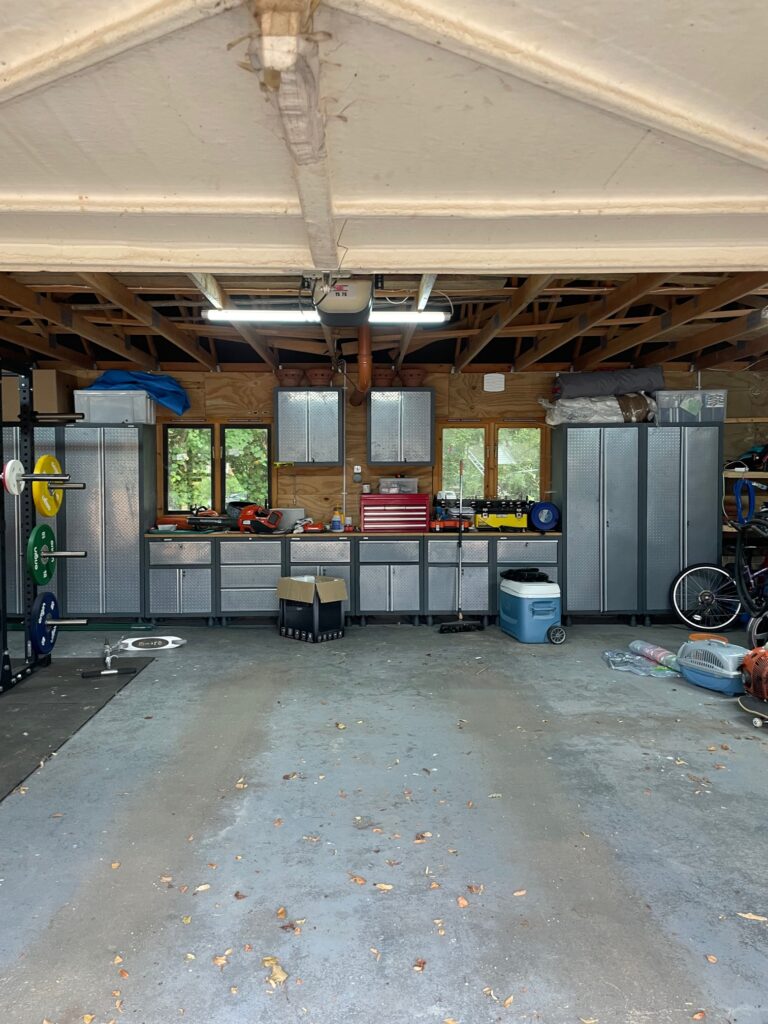
    Garage 8 Before

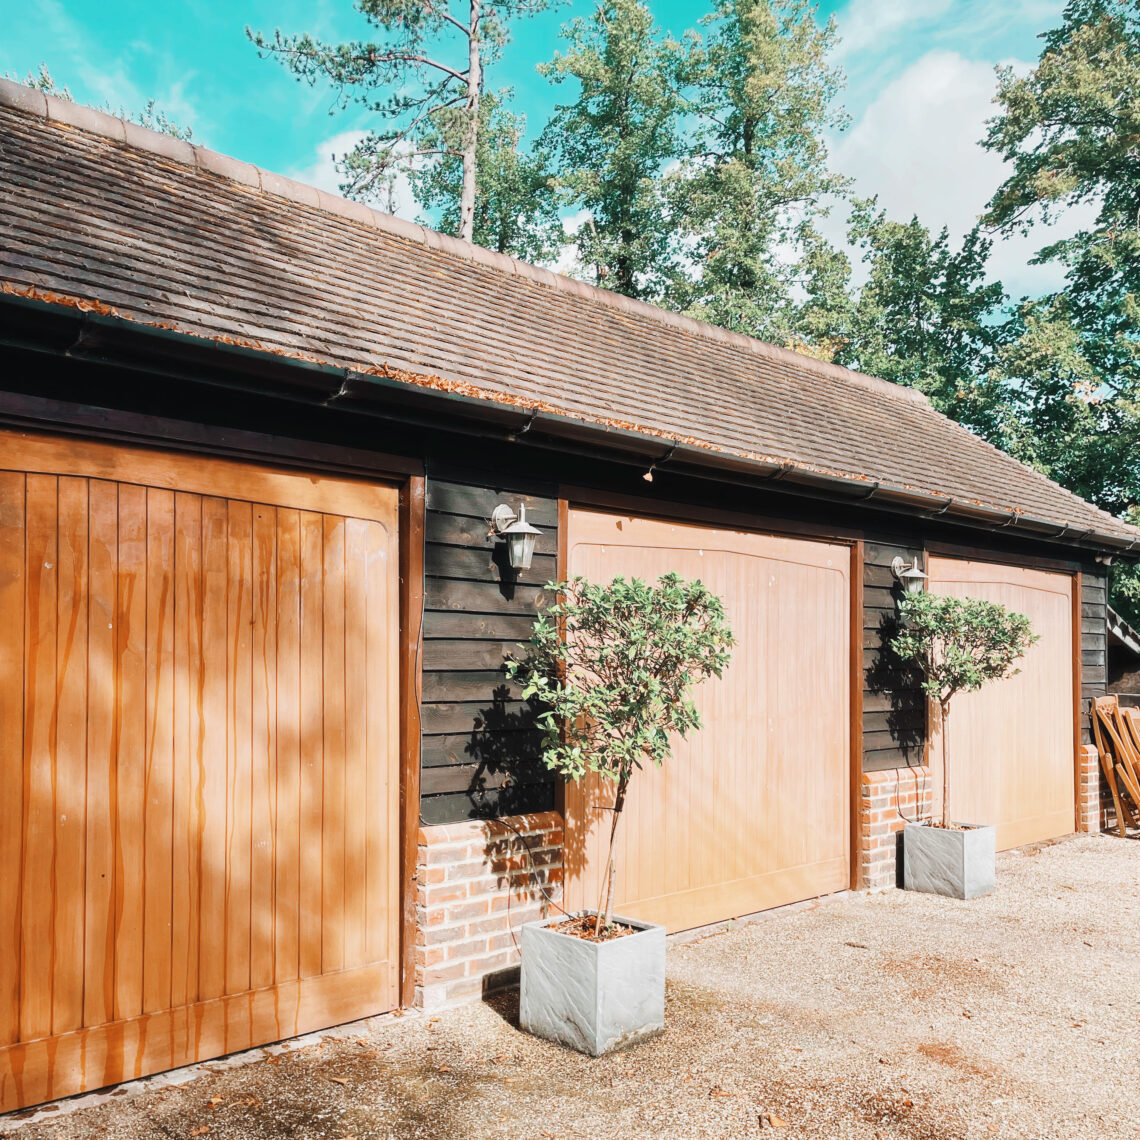
    I had organised our garage about 7 years ago when I was first introduced to Marie Kondo’s life changing magic of tidying up methods and although I had a lot of success with the method over time things had slipped and although we hadn’t quite returned to the total chaos within the garage. It was getting close!

    The challenges in organising our garage this time around were the following;

    • The budget was limited to a skip and some new simple storage boxes as i’m working on a bathroom update at the moment.
    • We own 9 acres of land and and this means we need quite a lot of stuff to manage this. We have a tractor, a ride on lawn mover, a robotic lawn mover and a full range of power tools and accessories needed to maintain the land.
    • We actually don’t have huge amounts of storage in the house so we need space to store items like Xmas decorations, hobbies etc.
    • My husband uses the garage as his gym which is challenging as there is heavy equipment on the floor that I can’t move and it isn’t easy to clean around.
    • Finally, i’m afraid to say that I take on more of the traditional female roles around the house so this is an area I always find challenging to declutter as I came across a lot of stuff I really have no idea what it’s purpose is. I hope you can learn from some of my mistakes and learn from some of the tips below.

    With this limitations in mind these are my 7 top tips for anyone to brave the task of a major clear out of the garage.

    1. Depending on your start point don’t underestimate the size of this job. For my triple garage this took a full week. If you do the process properly and go through everything then know that you will start all optimistic on Day 1, by Day 2 you will be seeing the scale of the problem. By Day 3 you will be wishing you had never started the process but if you keep going you will probably get through most of the decluttering. Day 4 you will be scratching your head trying to work out what is the best way to store all the stuff you have and then by Day 5 you will be looking for storage solutions for those really tricky items and may need to purchase a few additional storage solutions. After that you need to sell those items you can and get other items to a local charity outlet.
    2. A skip is really useful purchase for this type of job as you will be surprised how much rubbish you probably have accumulated and this will save countless trips to your local household waste site
    3. As with most decluttering processes take everything out of the space if you possibly can. I was a limited this time around as I was doing this all alone and couldn’t move the gym equipment. We were also having torrential storms which made things more challenging but it is so important to see the total amount of what you actually have and this helps later on when you are thinking of organising.
    4. As with all decluttering processes I separated those things which I needed to trash, things I could sell, items I would send to charity for reuse and those that we wanted to keep
    5. Within the piles of stuff I wanted to keep I further sub divided these things down into the following piles. Home, Outdoor and Garden, Power Tools, Automative, Hand tools, General Spares, Gym and Sports equipment, Seasonal items, Camping, Bicycle, Disaster and Hobbies and I think these areas worked quite well as I think this helps when you moving from the decluttering stage onto the organsing and storage stage and you can see the size each area needs later on. I’ve given a summary below of what I kept in each of these areas.
    6. Once you have sorted through things I would recommend that you have appropriate sized containers for as many of the things you have and label as much as you can and give every type of item a home. There are some excellent images of garage makeovers on Pinterest and at this stage you can really go to town with creating a calming colour palette but this is something i’ll have to invest in later on. I’ll make sure I post again if we update the space further.
    7. Outside of the garage we also have created further storage where we keep materials that come in bag size in like sand, grass seed, firewood etc. With the acreage we have we go through these materials quickly but you may be able to contain these types of products in your garage if you have a smaller outside space.

     Home

    Within the home section I stored all our painting and decorating products and tools. I also kept spares of things that we need within the home. e.g. I kept spare sockets and light switches

    Outdoor & Garden

    In this section we had a number of products we use regularly like weed killer and fertilisers. I also stored all our irrigation spares.

    Power Tools

    Within the Power tools section I kept all those electrical tools that my husband has accumulated over the years and any accessories and spares he has for them and some fuel canisters. For now I have kept them in their boxes which take up quite a lot of room but I may look for alternative for the next time I tackle this space and I have a bit more budget.

    Automative

    In this area I stored products and spares we use for all the things we drive. This may be a smaller area for you but we had items for the car, the tractor and our ride on lawnmover so this section was quite large in the end.

    Handtools

    This was quite a challenging area to organise but I found B&Q’s website really useful to develop our categories and organised things into the following subcategories; Screwdrivers & Keys, Handsaws, Spanners & Wrenches, Wood work tools, Pliers. This is another area that i’d like to improve on as my husband would like a board but this will be a project down the line again.

    General spares

    Within this area I sorted all those screws, nails, bolts etc. so that my husband can find them when he is working on a project.

    I think the other areas are probably fairly self explanatory and for most of these we stored these items in large boxes in our overhead storage. I am still working on selling a few items and getting other to reuse sites but i’ve added some photos below to show the progress I made over the week.

    I hope you find some of the categorisation useful. Please let me know how you get on with your decluttering projects and let me have any other tips you can think of.

    Happy decluttering!!